

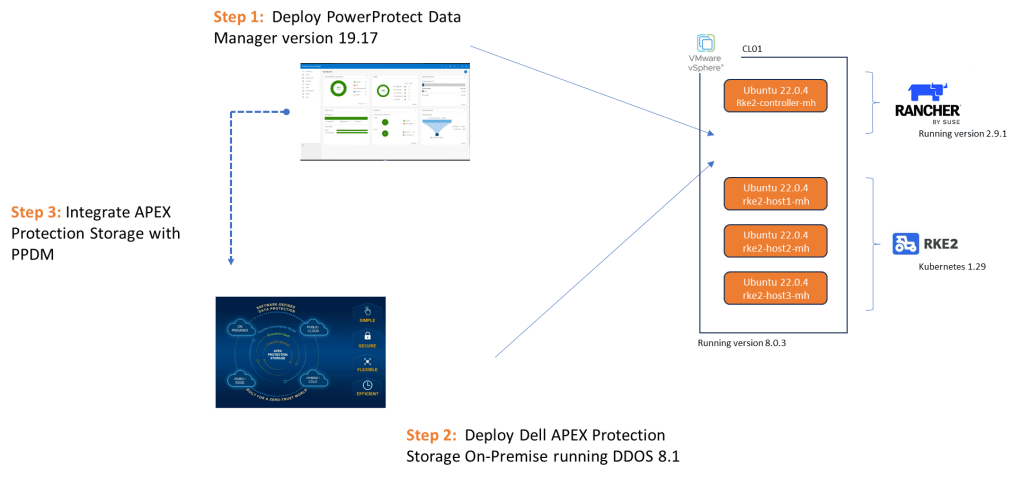
In Part 1, we stood up the Rancher managed RKE2 in our vSphere environment (mirroring a bare metal deployment). The next step is to set up the protection infrastructure, namely Dell PowerProtect Data Manager and On-Prem Dell APEX Protection Storage (Formerly branded as DDVE)
Note: whilst this is the second part of this blog series, you can use this post as a stand alone reference to quickly deploy an on-premise PPDM and APEX protection Storage environment.
As ever pre-requisites apply…. DNS, DNS, NTP and more NTP. I have also included a video demo of the entire process and links to key collateral ( note: you may need partner/employee credentials to access some of the downloads and content)
Step 1: Deploy PowerProtect Data Manager Version 19.17
1. Download and Deploy PPDM OVA
You can find the latest OVA here.

2. Install OVA
I’ll step through this on in the video. I’m going to assume that this should be straightforward enough. I’m going to deploy on the same cluster where my RKE2 cluster resides.

I have saved the file to my local drive, where you can upload from directly.

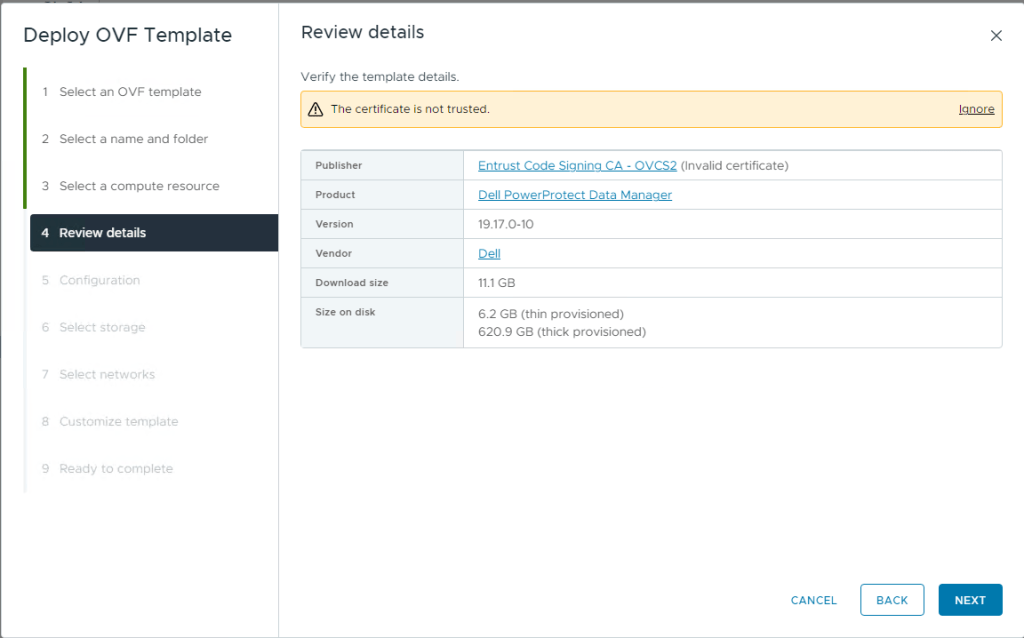
Run through the template workflow, give the Virtual Machine a name, ignore the certificate error and use thick provisioning as recommended.
This is a VMware (on-premise/hybrid) deployment.

For this deployment I am connecting to the same network as my RKE2 hosts, but this could be any network as long as their is IP reachability to the K8s cluster and APEX Protection Storage device.

For the next section, this is where we need to ensure we have forward/reverse DNS setup in our environment.
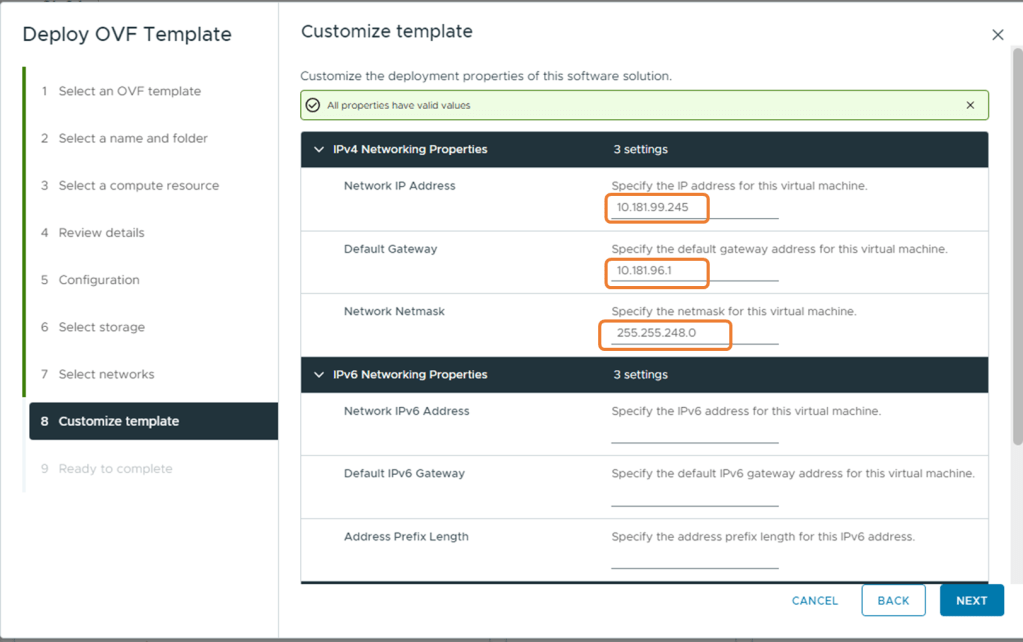

Finally, check all your settings are ok. Mine are good here, datastore is correct, format is Thick provisioned Lazy zeroed, I am connected to the correct network and most importantly my DNS and IP settings are valid. Click Finish.

This will take sometime to deploy, you can monitor the progress on the vCenter taskbar.

Once deployed, right click the VM and Power-On. Go grab some tea, the machine will take a couple of minutes to boot and all the services to start properly.

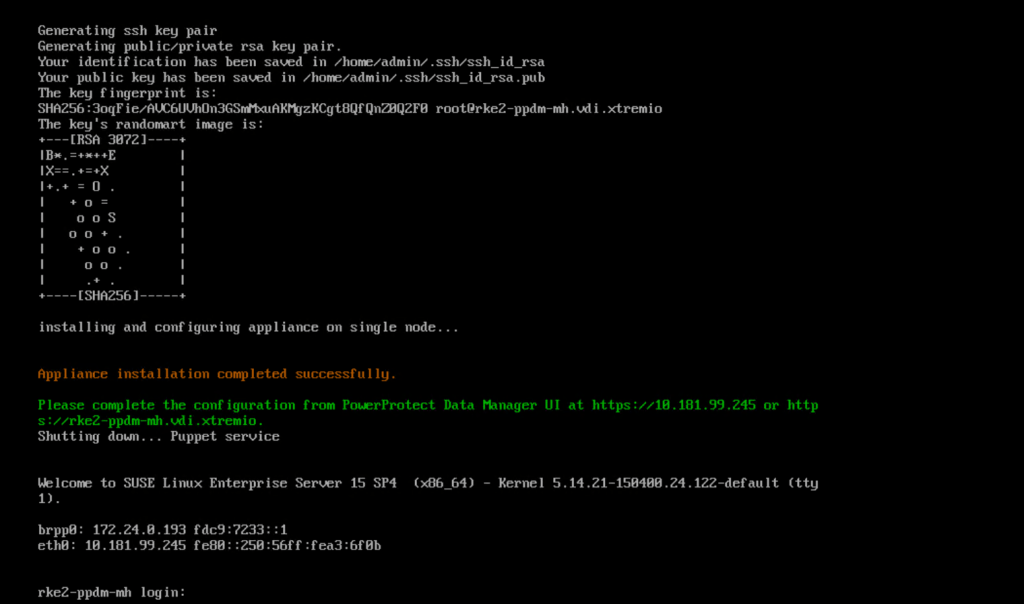
You can monitor progress by opening the VM console

After a few minutes, the application is installed successfully
3. Initial Configuration of PowerProtect Data Manager
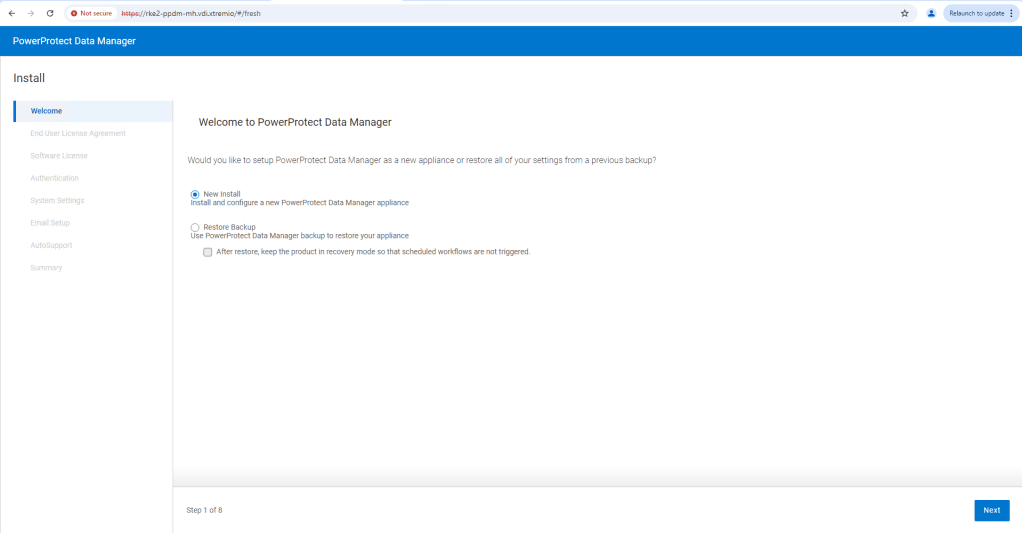
Browse to the FQDN address we configured, in this case https://rke2-ppdm-mh.vdi.xtremio. After ignoring the warning, you are then presented with the ‘New Install’ wizard. Click next and accept the EULA. Select the 90 Day Eval license, and then set up your new password.
When prompted set your timezone and NTP server.

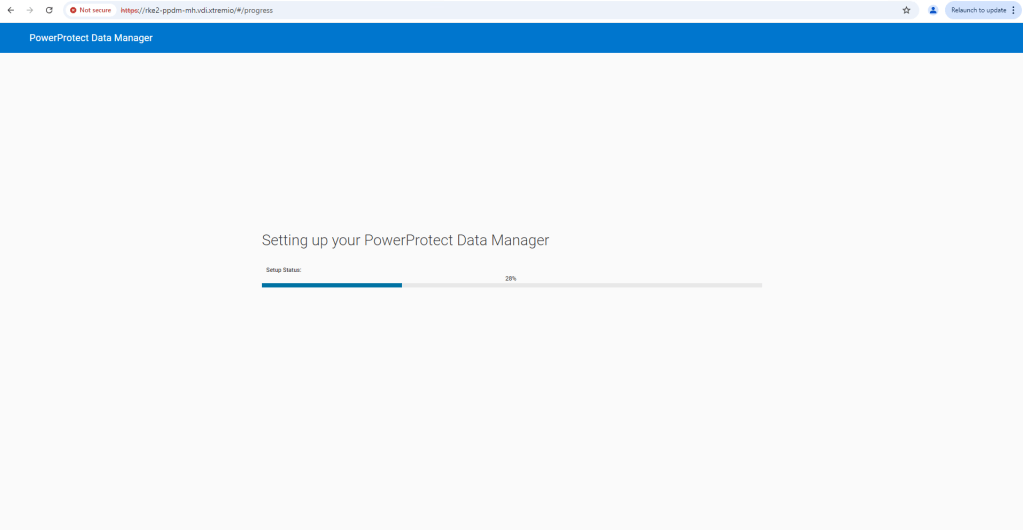
As this is a demo, I will skip over the Email setup, and proceed straight to the ‘Summary’ page. Click ‘Done’ and PPDM will start to configure the system based on the settings provided.

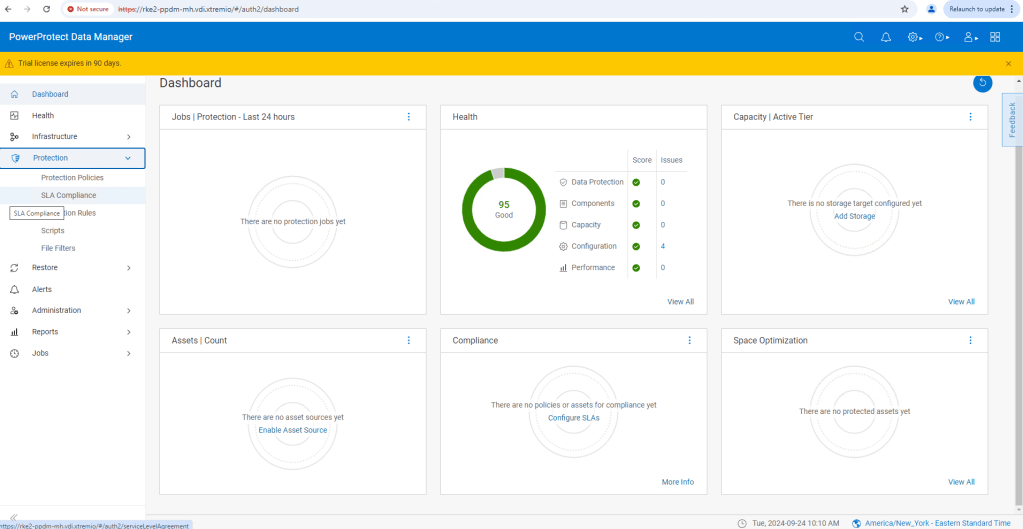
When complete, the main logon page will refresh. Use the password you previously configured and logon as Admin user.

Click ‘Continue’

Congratulations!! In you go. We will leave PPDM for now and proceed to Step 2, to configure APEX Protection Storage (DDVE). In Step 3, we will then link both together.
Step 2: Deploy APEX Protection Storage (On-Premise)
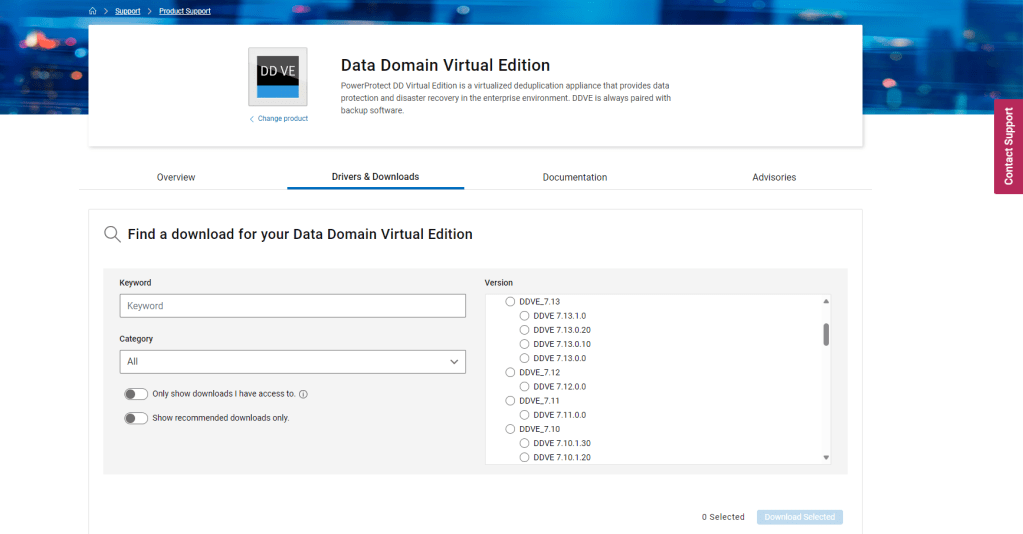
1. Download from Dell Support at the following https://www.dell.com/support/home/en-us/product-support/product/dd-virtual-edition/drivers & Unzip
2. Install OVA
Again, make sure NTP and forward/reverse DNS are configured properly. The system installer will check if there is a problem and the installation process will fail. I will deploy to the same vSphere cluster, but obviously this isn’t a hard requirement.

Give the VM a name, I usually mirror the FQDN and assign it to a cluster or host. Ignore the certificate warning and click ‘Next’.
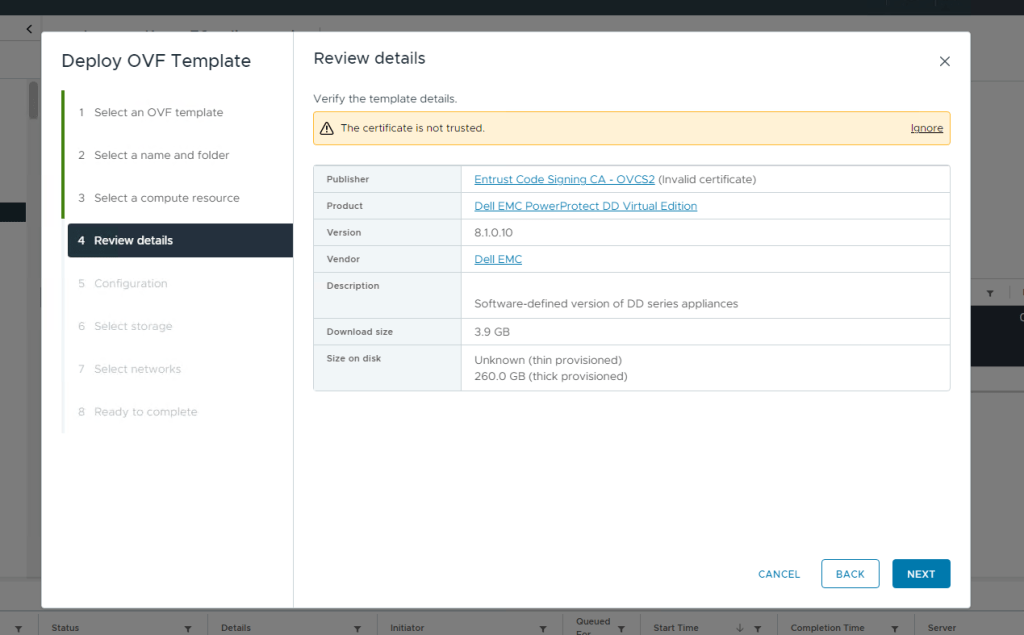
Next select your configuration type, this will preconfigure the VM based on the workload use case. This is for a demo, so we will pick one of the smaller configurations, I went with the 16TB option, just because I have lots of capacity in the lab. The 8GB option will be absolutely fine for demo purposes also. Click next and select your storage target.

Select your virtual networks, by default the OVA template will configure 2 interfaces and you can add up to 9 after configuration. For this demo I will only end up using the single interface, the second will be used in another post when we talk about cross protection storage replication.

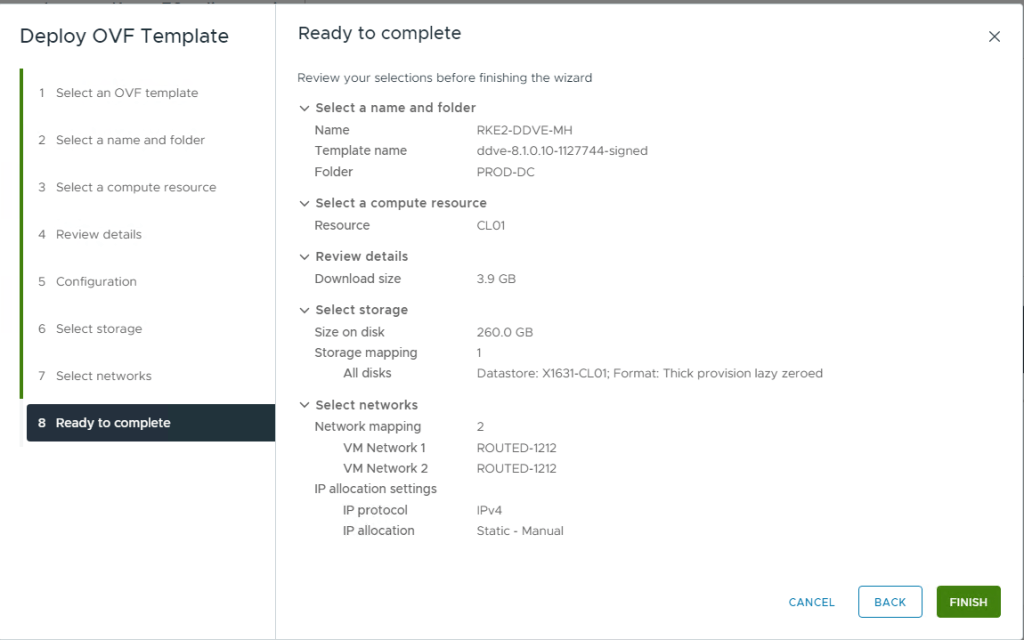
Double check everything looks OK and then click ‘Finish’. The OVA will start to deploy, as with the PPDM install, you can monitor the status in the vSphere progress bar.
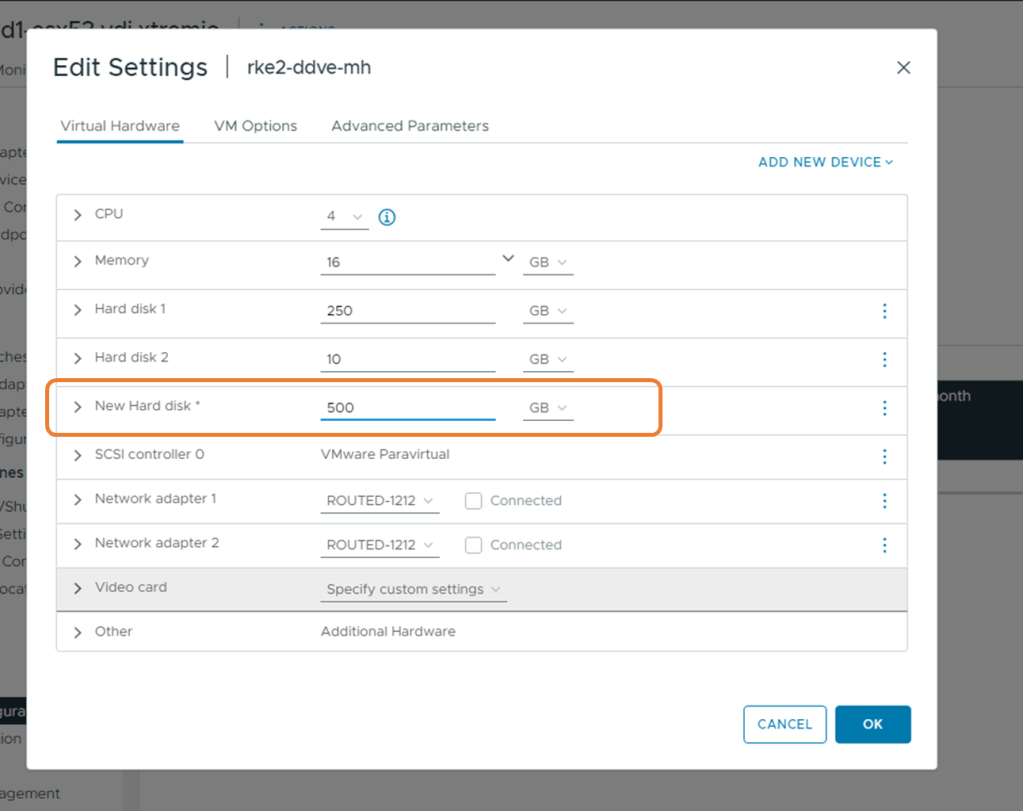
3. Add Storage before first boot
Before we power up the VM, we need to add storage. We can add a minimum of 250GB, but I will add 500GB of useable storage. On the VM, Right click, then ‘Edit Settings’ and add a 3rd disk. I will run through all steps in the video also.

3. Boot Virtual Machine and Launch Virtual Console

DDVE will take a couple of minutes to intialise, so be patient!
4. Initial configuration
NIC 0, is configured for DHCP, so technically you should be able to browse via 443 to the IP address allocated via DHCP, in order to do the initial configuration. I am going to assume that you may not have DHCP in your environment, so we will configure via the command line VM console.
Log on using the default username/password combination of sysadmin/changeme. Scroll through the EULA ( warning its long !), then enter and confirm the new sysadmin password. For now we won’t configure the security officer credentials. Select no when prompted to configure using the GUI.
- Configure Network at this time : Yes
- Use DHCP for hostname, domainname, default gateway and DNS? No
- Hostname: Enter the FQDN. Make sure to get this right as the installation will fail otherwise
- Domainname: Enter your domain name
- Ethernet port ethV0: Enable Yes
- Use DHCP on Ethernet port ethV0: No
- Enter IP address
- Enter the netmask
- Ethernet port ethV1: Enable No
- Default gateway:
- IPV6 Default Gateway: None
- DNS Servers: Enter the list of DNS servers
- Do you want to save these settings: Save
- Configure eLicenses: No
- Configure system at this time: No
Configuration complete!

5. Create File System
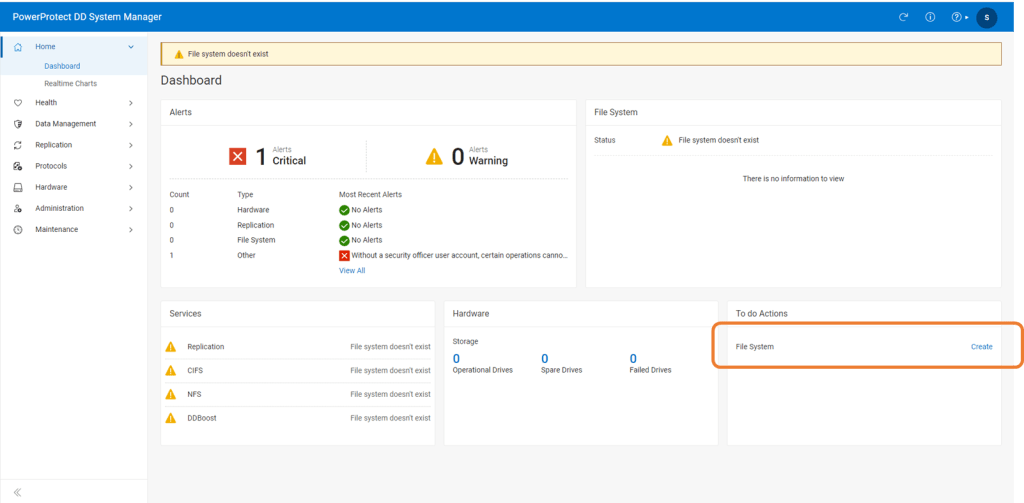
Now log into DDVE ( APEX Protection Storage), via the newly configured address. We should really use the FQDN to ensure it is working.

In the ‘To Do Actions’ section click on ‘Create’, in order to initiate the File System wizard.
Then Click on create.

Step through the wizard. Select the 500GiB drive we have presented as the dev3 device and add to the Active Tier. Click Next and skip the Cloud Tier and the Cache Tier section. We will revisit this in a future post.

Run the assessment, This will take a couple of minutes. As this is a test environment you can skip if you wish. If you have the time I would recommend it though. Click ‘Next’ and then ‘Finish’.

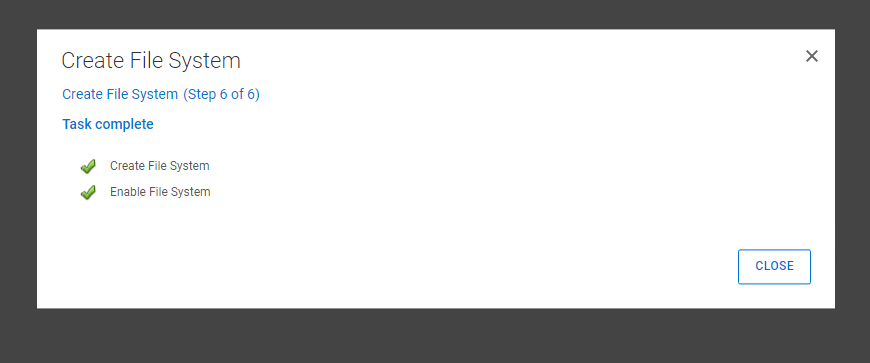
After a few minutes the File System creation will have finished.
6: Check Protocol Status and Enable DD Boost
Enable DD Boost if not already done so. Navigate to Protocols -> DD Boost

Step 3: Integrate APEX Protection Storage with PPDM
Now we have APEX Protection stood up, the next step is to integrate with PPDM and add as an asset source. This is a very straightforward process.
1. Log back into PPDM

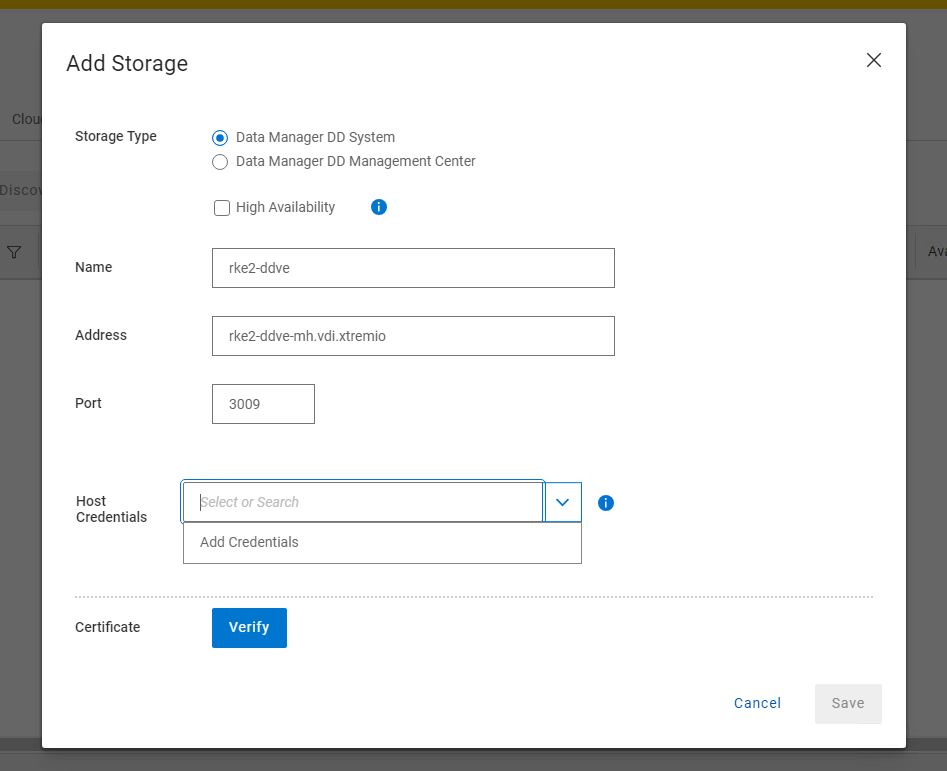
2. Navigate to the Infrastructure, then Storage tab and Add Storage

3. Add Storage and Credentials
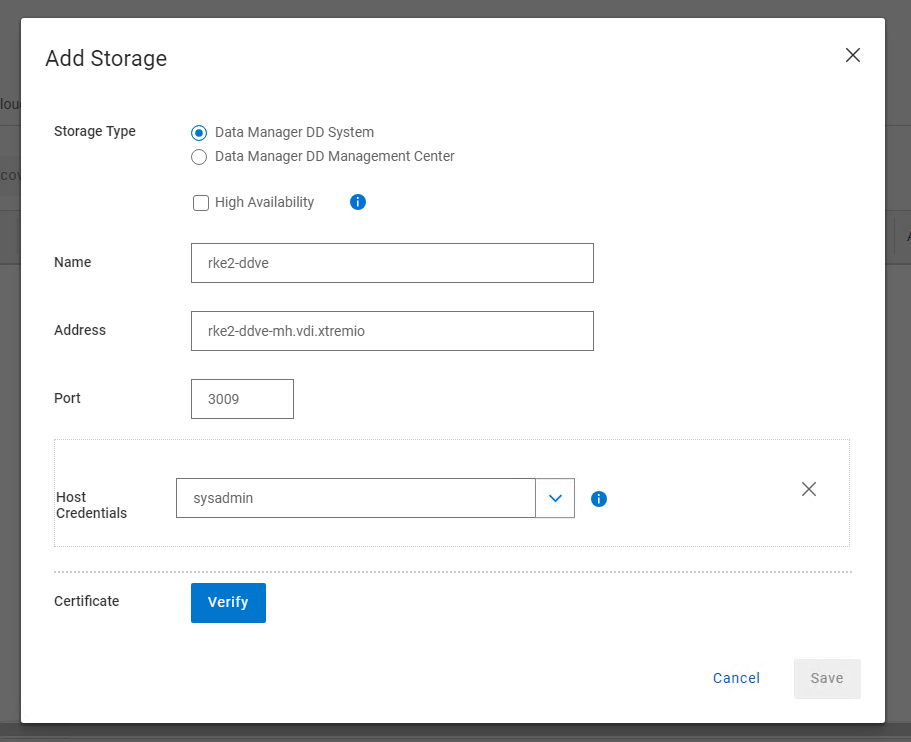
I have used the FQDN as best practice. Leave the discovery port as 3009. As this is a fresh install you will need to create a new host credential. This is the sysadmin username/password combination of the APEX protection Storage device we have just deployed.

Click Verify and Save.
After a few moments the discovery job should kick off and the DDVE storage device will be discovered.

Job done….. In the next post we revert back to our RKE2 environment and configure the CSI driver, present some persistent storage via PowerScale and create some demo applications. Once that is complete, we will configure the PPDM environment to discover our K8S namespaces and PVC’s, apply a protection policy and demo some failover scenarios.
Video Demonstration
DISCLAIMER
The views expressed on this site are strictly my own and do not necessarily reflect the opinions or views of Dell Technologies. Please always check official documentation to verify technical information.
#IWORK4DELL

[…] Part 1, we stood up the Rancher Manager and deployed our 3 Node bare-Metal RKE2 cluster. In Part 2, we deployed Dell PowerProtect Data Manager 19.17 and paired it with a fresh installation of Dell […]
LikeLike
[…] Dell PowerProtect Data Manager deployed and running. Link to post here. […]
LikeLike